
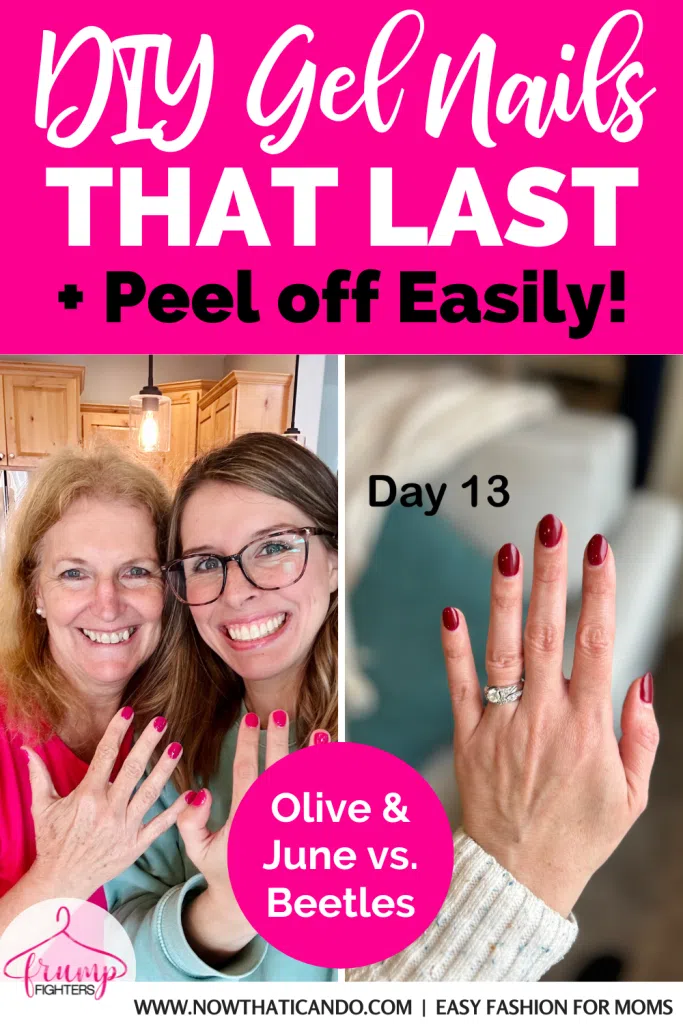
Tired of your at-home gel manicure chipping within days?
As a busy mom, I need my manicure to last, despite doing dishes, laundry, and diaper changes.
This guide will show you how to get a salon-quality gel manicure at home that lasts 12–14 days without chipping.
And most importantly, when you’re ready to remove the manicure, the color literally just peels off—no acetone soak required.
I’ll compare 2 brands of gel mani kits: one that is super affordable (Beetles) and another (Olive & June) that is more non-toxic and longer lasting.
Why At-Home Gel Manicures Are Worth It
I started looking into gel mani kits after almost going to the nail salon for a gel mani on my birthday, but deciding against it after seeing it would cost about $40 😱 For something that would last only 2 weeks?? No thank you! I just couldn’t bring myself to do it.
An at-home kit involves an upfront cost of around $50–$100 but provides limitless salon-quality nails. All you have to pay for is additional colors, which can range from $2–$10 each.
Cost savings breakdown: If you buy the Olive & June Gel Mani Kit for about $100, you’ll break even after just two manicures compared to paying $40 per gel mani at a salon—and every manicure after that is essentially free, saving you $40 each time!

You also save time and get to do your mani at home when it’s convenient for you, rather than scheduling an appointment and finding childcare!
Since you’re doing the mani on yourself, it will take longer than when a nail tech does it for you (since you can’t paint your nails while one hand is curing!), but considering you don’t have to wait for them to start or drive there, it probably evens out in time. It does take me about 1 ½ hours to do my own gel mani. Basically a whole nap time!
Following careful steps (which I’ll cover below and in the video), you can have a beautiful manicure that lasts up to 2 weeks!
Also, when you do it yourself, you can do it in such a way that you don’t damage your nails during removal! The polish will literally peel off like a sticker once it’s ready to come off. No need to do acetone nail soaks!
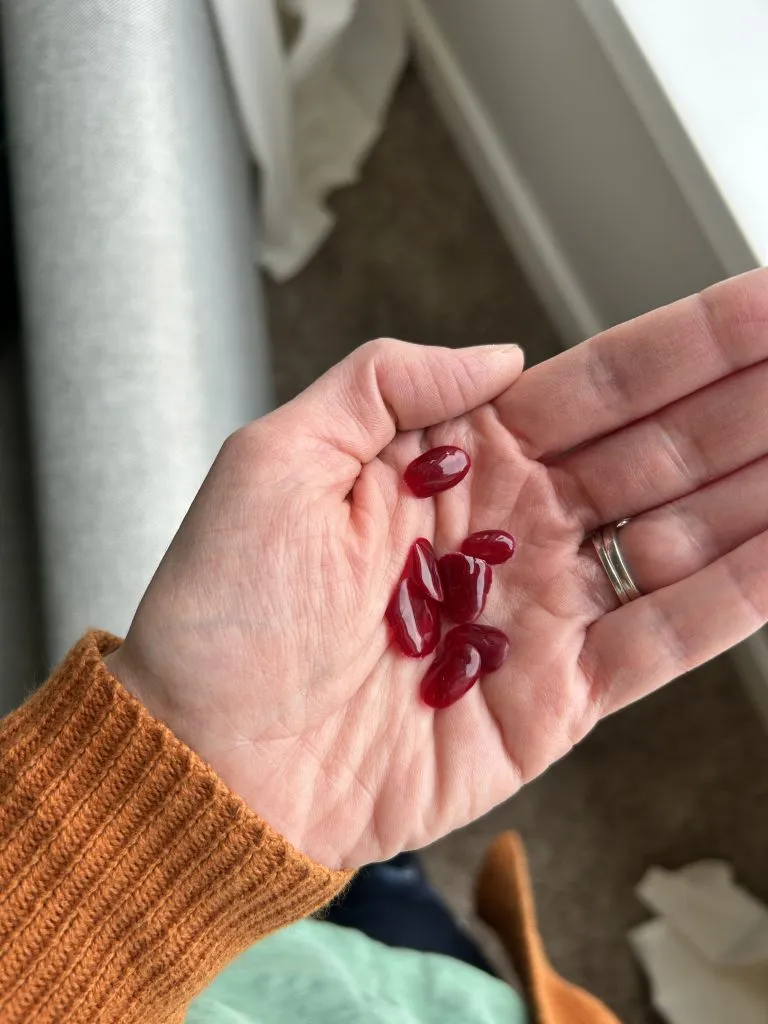
With the right nail prep (which I’ll cover below), you can enjoy a long-lasting gel manicure combined with ease of removal. Best of both worlds.
Why I recommend GEL versus regular nail polish and press-ons
Here’s a breakdown of the best options, based on how long they take to apply, skill level required, wear time, and ease of removal—plus why gel still wins in my book!
1. Regular Nail Polish
Time to Apply: 10-15 minutes (but takes 1+ hour to fully dry)
Skill Level: Easy
Lasts: 3-4 days before chipping
Removal: Easy (nail polish remover)
✅ Pros:
- No special tools required
- Quick and simple application
- Inexpensive
❌ Cons:
- Smudges easily if you don’t sit still for at least an hour
- Chips within a few days
- Takes forever to dry, and let’s be honest—life doesn’t stop for that
2. Press-On Nails
Time to Apply: 10-20 minutes
Skill Level: Easy
Lasts: 5-10 days
Removal: Can be tricky; requires soaking or careful peeling
✅ Pros:
- Instant length & designs
- No polish or drying time needed
- Affordable and beginner-friendly
❌ Cons:
- Can pop off unexpectedly
- Some require waiting an hour before getting wet
- May damage nails if removed improperly
3. Dip Powder Nails
Time to Apply: 30-45 minutes
Skill Level: Intermediate
Lasts: 2-3 weeks
Removal: Long soak-off process with acetone
✅ Pros:
- Super durable and long-lasting
- No UV/LED lamp needed
- Stronger than regular gel
❌ Cons:
- Messy and takes some practice
- Can weaken nails if overused
- Removal is a hassle—requires soaking in acetone for at least 15 minutes
4. Builder Gel (Hard Gel / BIAB – Builder in a Bottle)
Time to Apply: 45-60 minutes
Skill Level: Intermediate to Advanced
Lasts: 2-4 weeks
Removal: Requires filing off or soaking in acetone
✅ Pros:
- Strengthens natural nails
- Can be used to add length
- Looks professional and lasts longer than regular gel
❌ Cons:
- Takes longer to apply than gel polish
- Removal is more difficult than regular gel
- Requires practice to get a smooth, even application
5. Gel Polish (My Favorite!)

Time to Apply: 20-30 minutes
Skill Level: Easy to Intermediate
Lasts: 14-21 days (with a top coat refresh)
Removal: Easy if done correctly (peels off or soaks off)
✅ Pros:
- Dries instantly under a UV/LED lamp—no smudging!
- Lasts way longer than regular polish
- Easy removal if you do the prep right
❌ Cons:
- Requires a UV/LED lamp
- Can take practice to perfect the application (it took me about 4 manis to get it perfect)
If you’re looking for the best balance of longevity, ease, and affordability, gel is the clear winner. It’s beginner-friendly, lasts 2 weeks without chipping, and you can get back to life the second you’re done curing—no waiting around for polish to dry or worrying about smudging.
Essential Tools & Products for a Long-Lasting Gel Mani
You’ll need to start with a kit.
I recommend the Olive & June Gel Mani Kit, but I’ll give a full breakdown of how it compares with the cheaper alternative (Beetles) later in this post.
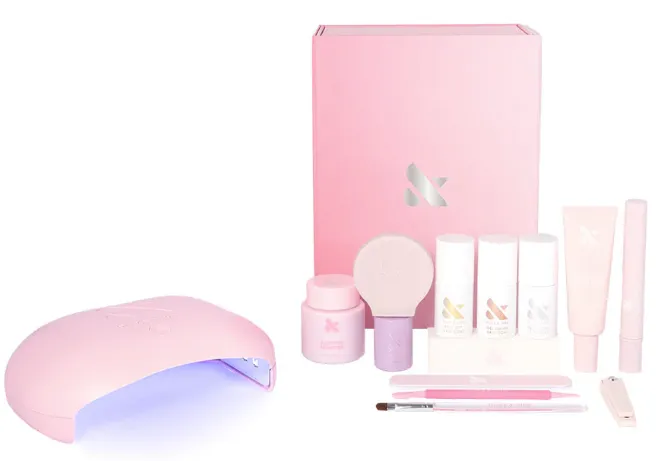
Top Recommendation: Olive & June Gel Mani Kit
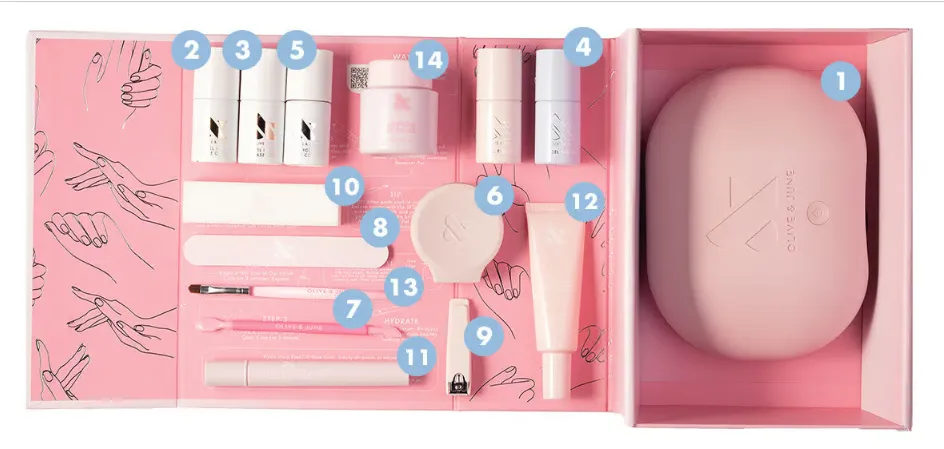
- 5 Finger LED Gel Lamp – cures your gel mani in minutes
- Peel Off Base Coat – effortless, acetone-free gel removal
- Gel Polish Base Coat – creates the perfect gel base
- Gel Polish Color – plumpy, high gloss color
- Gel Polish Top Coat – protects and makes your mani last
- Poppy – helps you paint neatly with your non-dominant hand
- Mani Cuticle Pusher – gently pushes back your cuticles
- Nail File – smooths and perfects the nail shape
- Nail Clipper – creates your perfect nail shape
- Nail Buffer – smooths and preps the nail plate (I sSkip this!)
- Cuticle Serum – hydrates dry cuticles and skin
- Cuticle Remover – removes stubborn, dry cuticles
- Clean-Up Brush – creates precise, neat polish lines
- Acetone Remover Pot – preps nails and helps with clean up
When buying your Olive & June kit, I recommend also adding these products before checkout:
- Nail Strengthener Primer (Olive & June)
- Additional gel polish colors
This comprehensive kit provides all the tools and products necessary to achieve a long-lasting, salon-quality gel manicure in the comfort of your home.
Beetles Brand (Cheaper, Less Clean Alternative)
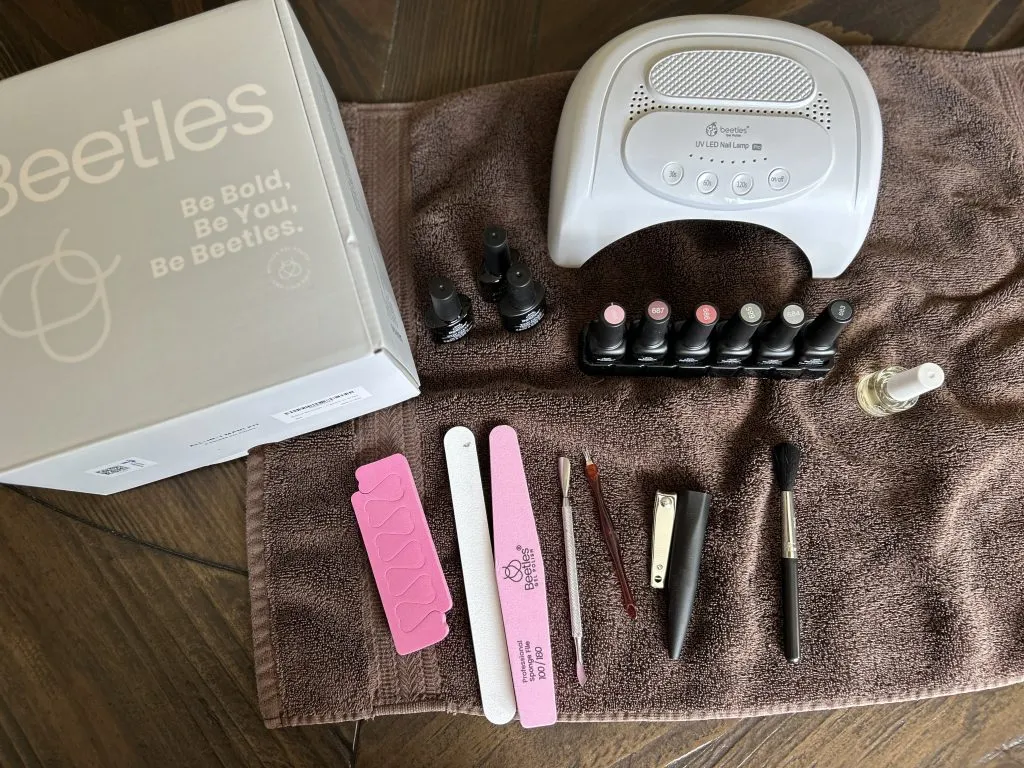
Inexpensive, but not as long-lasting or non-toxic as Olive & June. It doesn’t include a peel-off base coat, cuticle serum, cuticle remover, or acetone.
If you go with Beetles, you can always grab Olive & June’s peel-off base coat and acetone—they work great!

- 54 Pcs Gel Nail Polish Kit: This Gel Nail Polish Kit includes 32 bottles of super multi-color gel nail polish for all season…
What About Manucurist?
This is another popular clean brand that offers gel kits called “Green Flash”. I didn’t buy the full kit but have just ordered their base coat + removal system to try because this gal recommended it in combination with Olive & June. I will update this post when I try her combo recommendation!
From everything I’ve heard though, here’s a comparison of Manucurist vs Olive & June:
- Manucurist and Olive & June are both considered clean brands
- Manucurist is more expensive for the full-size kit compared to Olive & June, but they have a similarly priced getting-started option that includes fewer items than Olive & June’s kit.
- Manucurist doesn’t last as long as Olive & June, but removes easier (in 1 minute with absolutely zero nail damage)
- Manucurist doesn’t fully dry/cure as quickly as Olive & June, and their lamp isn’t as well designed because you have to do the thumb separately.
- Manucurist currently has more colors than Olive & June.
In short, Olive & June’s product gives you a thicker, longer-lasting gel manicure than Manucurist, but could be harder to remove if you buff your nails and/or don’t use the Peel Off Base Coat (correctly). See my tutorial below for the right way to do it!
You’ll also need:
- Paper towel
- Cotton pads or cotton balls
- The kids taken care of… haha you can’t easily help with anything for the 1.5 hrs it takes to do your gel mani! I usually pick naptime or after bedtime to do my mani.
- Music or a podcast!
- A drink
- Good lighting
- Optional but recommended: Suncreen & UV blocking gloves. (Olive & June state that you get less UV exposure from the lamp than from walking around outside on a sunny day, BUT I still choose to use sunscreen and fingerless UV blocking gloves for extra safety since I like to do my nails every 2 weeks.)
Prep work is key! In the next section I’ll go over the specific steps you MUST take to get the full long wear out of either kit.
There is a common step I SKIP, and one that others commonly mess up. So don’t miss those!
Step-By-Step Guide to a 2-Week Gel Manicure (Video & Written)
Corina walks you through the exact steps she takes to get a perfect salon-quality manicure in 1.5 hours every 2 weeks.
Step 1: Nail prep (cleaning, cuticle pushing, and dehydration).
- Wash your hands
Wash thoroughly with soap and dry completely. - (Optional) Protect your hands from the UV lamp
- Apply sunscreen to your hands.
- Put on UV-blocking gloves (I always do this step).
- Trim and shape your nails
- Trim if needed.
- Use a nail file to shape to your preference.
- Prep cuticles
- Apply Olive & June’s Cuticle Remover serum.
- Use a cuticle pusher to gently push cuticles back.
- Wipe off any remaining serum.
- Skip buffing
- This is often recommended here, but don’t do it.
- Buffing damages the nail surface and prevents the polish from peeling off easily later.
- You’ll end up needing an acetone soak—which is a pain.
- Clean nail beds with acetone
- Use a paper towel, cotton ball, or pad dipped in pure acetone (like the kind included in Olive & June‘s kit).
- Wipe each nail thoroughly, including cuticles, to remove oil and moisture.
- IMPORTANT: Don’t touch your nails after this or you’ll reintroduce oils that shorten wear time.
- Prime your nails
- Apply the Nail Strengthener. This acts as both a dehydrator and a primer.
- Apply peel-off base coat
- Wipe most of the product off the brush—you want a very thin layer.
- Apply only to the center of each nail, not the whole surface.
- Avoid the edges and tips.
- Let it dry completely (it turns nearly invisible when dry).
- If it’s taking too long to dry, you applied too much—use even less next time.
- Apply gel base coat (start working one hand at a time)
- Make sure the peel-off base coat is fully dry (not shiny).
- Cap the tips first by brushing the base coat along the edge of your nails.
- Apply a thin, even coat to the rest of the nail, stopping just before the cuticle.
- Clean up any excess with a brush dipped in acetone.
- Cure under LED light for 1 minute.
- Apply gel color
- Choose your color.
- For the first coat: Cap the tips by brushing just the edges.
- Apply a thin, even layer over the nail. Don’t get ANY polish on the cuticle.
- Cure for 2 minutes (long-press the Olive & June lamp).
- For additional coats (2–4 total): Apply thin coats (no need to cap the tips). Cure each coat for 2 minutes.
- Apply gel top coat
- Cap the tips again first.
- Apply a thin coat over the entire nail, avoiding cuticles.
- Cure for 1–2 minutes (I do 2 minutes for longer wear).
And you’re done! You can go back to life right away and your nails won’t smudge or chip!
Here’s is Olive & June‘s Overview:
Tips for Your DIY Gel Manicure to Last 2+ Weeks
It took me about 3-4 attempts doing my own gel manicures before I got the steps and techniques just right. Be patient if your mani doesn’t last long the first time.
Here are a few more tips to get your manicure to last longer:
- Use gloves when washing dishes.
- Avoid letting your hands soak in hot water like a bath.
- 1 Week In: Re-apply 1 coat color + top coat. To make sure your mani lasts a full 2 weeks, I do one more coat of color to my nails, cure 2 minutes, then do top coat and cure another minute. This takes me 7-10 minutes to do and gives me one more week of wear with no chips!
How to Remove the Gel Manicure Easily
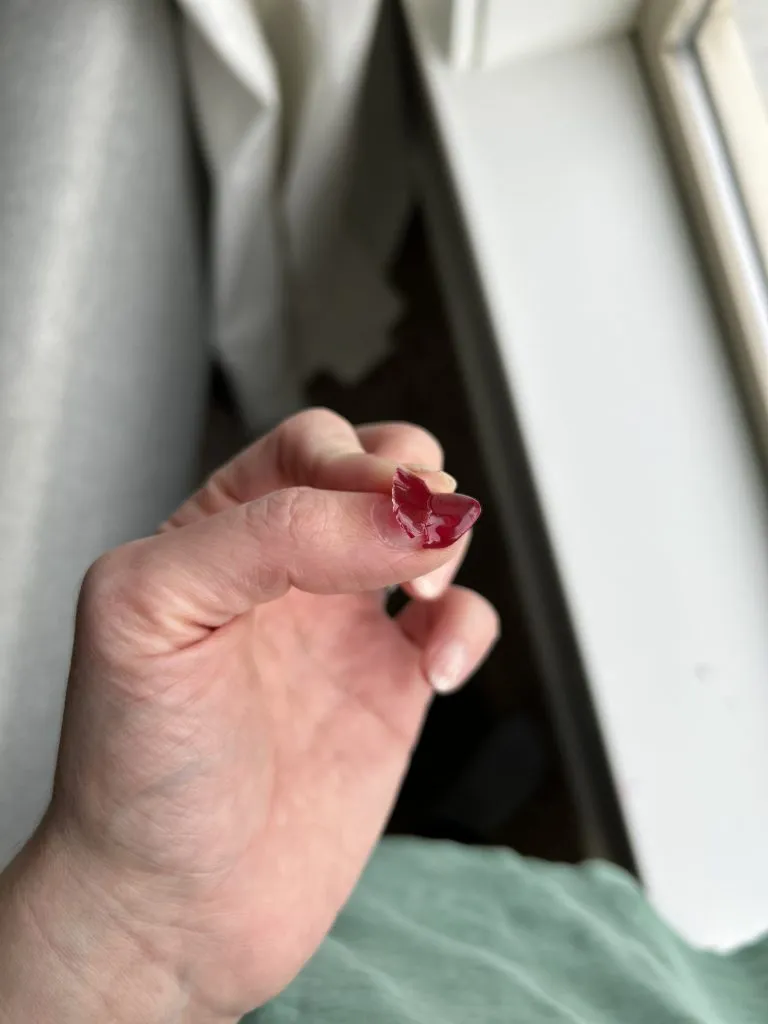
I picked up Olive and June’s Salon-Speed Soak-Off Kit, but I haven’t had to use it yet. When my nails are ready to come off, a couple usually pop off easily on their own.
The rest start peeling over the next 24 hours or so.
If you want to speed things up, soaking your hands in hot water helps. Then, use a cuticle pusher to gently lift the edges of the polish and peel back the whole nail.
It should come off in one piece or just a couple of chunks.
I’ve noticed that if I rush the process instead of letting them loosen naturally over a day, the areas without the peel-off base coat can cause slight damage.
In theory, I could use the soak-off kit to make sure they slide off perfectly without any peeling, but… I don’t have the patience for that. The damage is super minimal, so I just do the quick peel-off method!
Olive & June vs. Beetles – Which One is Better?
Olive & June Gel Mani Kit
Go here and click “Get the System”.
- Pros: Easy to use, long-lasting, beginner-friendly, and free of top 9 toxins common to gel polish.
- Cons: Higher price, more limited color range (the colors they do have are amazing though, and since they just launched the Gel Mani system in November 2024, I’m sure more gel colors are coming!)
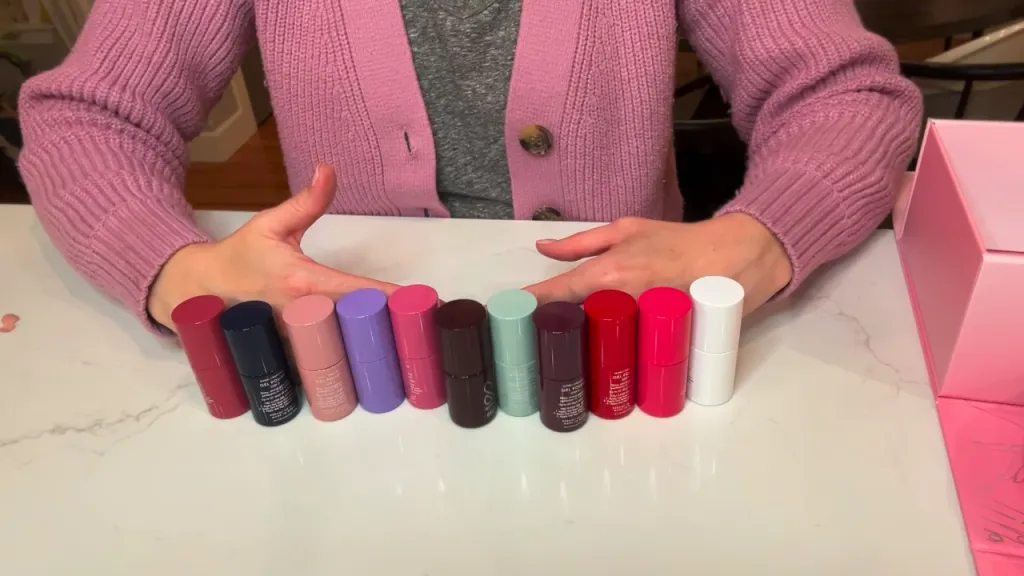
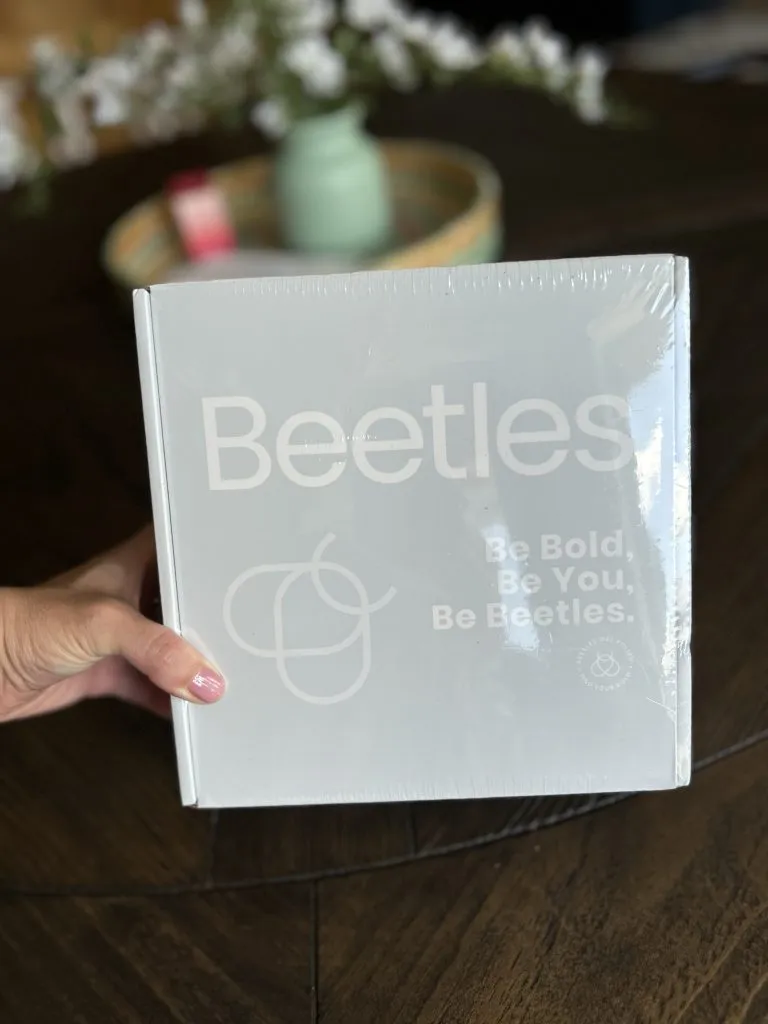
Beetles Gel Polish Kit
- Pros: Very affordable, available on Amazon, tons of colors, decent longevity (my longest mani lasted 10 days and was also easy to peel off as long as I didn’t buff my nails).
- Cons: Not as chip-resistant, not as “clean” of toxins.
Final Verdict: Which One Do I Recommend?
- Best for longevity & non-toxic = Olive & June.
- Best for budget-conscious beginners = Beetles.
Additional Questions
Does the UV light cause skin cancer?
In my research it was inconclusive, but there were valid concerns. Olive & June state theirs is tested for safety and emits very minimal amounts of UV (they claim it’s less than you’re exposed to on a sunny day). Regardless, I choose to use sunscreen + UV-blocking gloves to err on the side of safety!
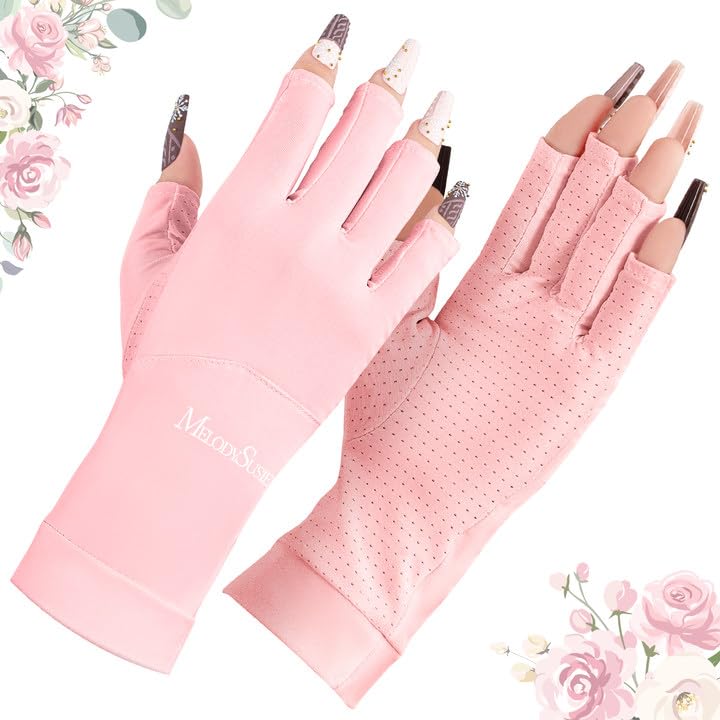
- 【Premium Soft LYCRA Fabric】Our gloves are made from 88% nylon and 12% spandex LYCRA fabric, which is soft, lightweight…
How do I remove gel nails without damaging my natural nails?
I recommend NOT buffing your nails before a gel manicure. This is what exposes your nail and makes the polish adhere so tightly that it takes nailbed with it when you remove it. DO dehydrate your nails with acetone, a nail dehydrator, or Olive & June’s Nail Strengthener primer. Also, use Olive & June’s peel-off base coat (in the center of your nail only!) before the regular gel base coat. This will insure the mani peels off easily when they’re ready to come off.
How often should I redo my gel nails at home?
With proper nail prep and using gloves to wash dishes at home, they should last about 2 weeks. Olive & June states there’s can last up to 21 days. I usually apply another coat of color and top coat about 1 week in to make sure they don’t chip early. Once the nails start to peel, they should come off pretty easily. Then you’re ready for another mani right away! Or enjoy your bare nails for a few days before the next gel mani.
Which gel polish brand lasts the longest?
Sally Hansen’s no-uv lamp polish lasts 5-7 days for me. Beetles gel polish lasted about 10 days. Olive & June lasted 14 days and looked perfect the whole time! Note: to get the 14 days I applied an extra coat of top coat 1 week in.
How can I make my at-home gel manicure last longer?
- Follow the steps explained in the step-by-step section to prep your nails correctly. Making sure your nails are dry (no oils or moisture) is KEY. Also make sure your layers of polish are thin, and don’t let any polish touch your cuticles/skin because it will start to peel back from that spot.
- Use gloves when washing dishes to avoid excess water exposure.
- 1 week in, apply another top coat and cure for 1 minute.
Why does my gel manicure peel off early?
Each person has slightly different nail beds. Some have more oily ones. However, with proper nail prep your mani should last over a week. See the step-by-step guide to prep nails correctly, avoid washing dishes without gloves, and apply another top gel coat about 1 week in.
Conclusion
If you’ve been on the fence about doing your own gel nails so you can feel cute at home, I hope this guide gave you all the details you need to feel confident diving in! Whether you go with Olive & June for a long-lasting, non-toxic option or Beetles for a more budget-friendly choice, both will give you a salon-quality manicure for a fraction of the cost.
The biggest takeaway? Nail prep is EVERYTHING. Follow the steps carefully, be patient with your technique, and don’t stress if your first mani isn’t perfect—it took me a few tries to really get it down. But once you do? You’ll love having gorgeous, chip-free nails that last two weeks and peel off easily when you’re ready for a fresh set.
So grab your kit, pick a pretty color, and enjoy your new DIY salon experience—right from your own home!

